
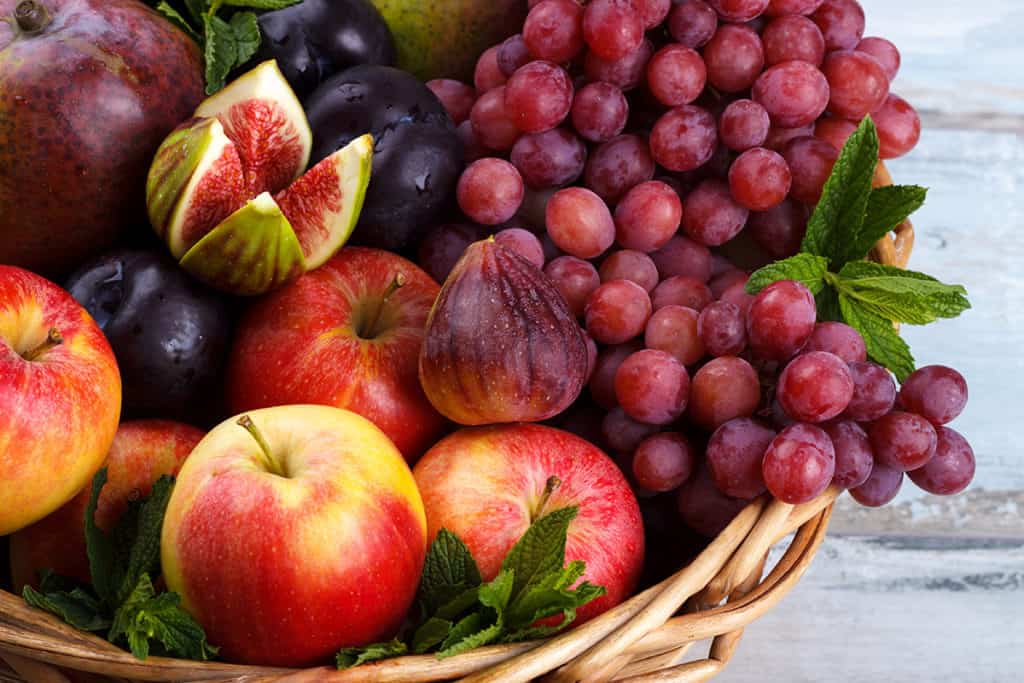
Have you ever opened up your fridge looking for those berries you bought 2 days ago and they’re covered with mold? Or how about an $8 container of organic raspberries… loaded with mold? This is one of my biggest pet peeves when it comes to buying fresh fruit (specifically berries). If you’ve ever wondered how to make fruit last longer, I want to share with you exactly how to do it!
Honestly, this trick (or kitchen hack) is so easy that I can’t believe I never came across it before. It’s not in my book The Savvy Gluten-Free Shopper book which contains so many of my favorite tips on saving money eating a nutrient-rich gluten-free diet, but I’ll be sure to add it to the next edition.
Credit is due here to my friend (and guest author) Ashley Rowe. We met a few months ago at my first Gluten-Free retreat that I hosted and I loved her passion for eating good, simple food as well as making sure her family was eating the best that they could without too much stress.
Below is a very easy step-by-step explanation of exactly how to make fruit last longer and Ashley will share with you why you MUST have one specific ingredient to do so. I never kept this ingredient on hand because I never really saw any use for it before (because you certainly shouldn’t bother to use it on salads).
And please do your friends a favor and share this article because I guarantee you that so many people will thank you for saving them money now that their berries aren’t going to be wasted due to mold!
How to Make Fruit Last Longer
Guest Post by Ashley Rowe
I had become tired of buying amazing looking produce, bringing it home and storing it in the fridge while occasionally snacking on it. Then a few days later, discovering moldy spots or nasty mushy fruit.
It’s a tragedy- disheartening and just plain sad!
While I can’t make fruit last forever, I have found a trick to make it last longer that’s simple, easy, and cheap. Plus, this tip will save you time and money! Let’s be honest… we could all use a little more of both, so here’s how you can do this in your own home!
Step 1 – Make Your Solution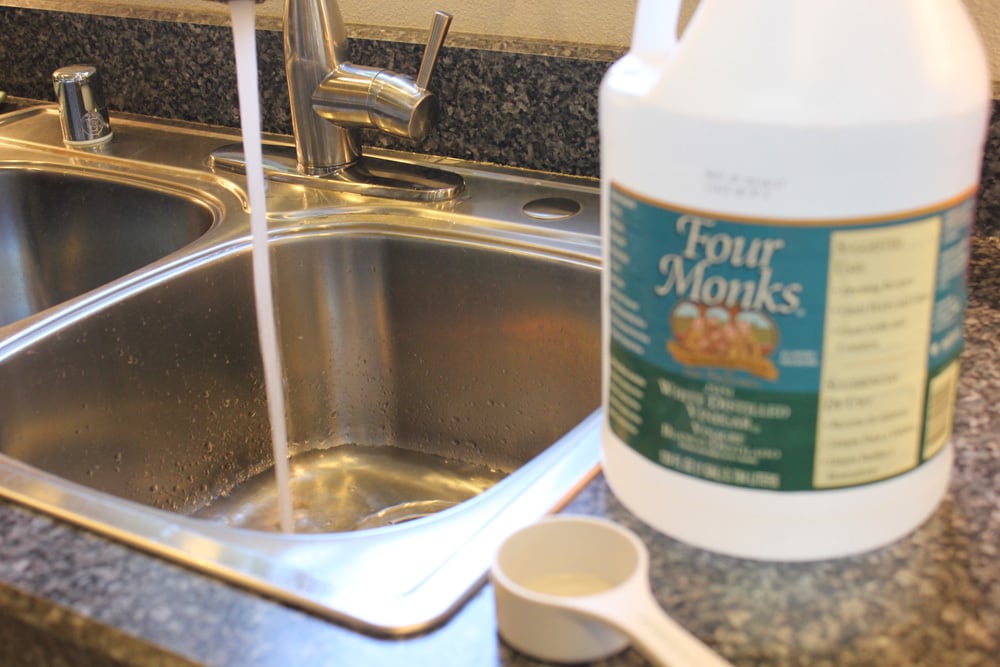

Make a water & vinegar solution to rinse the fruit in. White vinegar is what will kill any bacteria living on the fruit and help it last longer by not spreading the “nasties” from fruit to fruit. This article is great read about vinegar and the magic it works for cleaning fruit.
Through my research about using vinegar, I found that the most effective ratio for cleaning fruit is a 3:1 ratio of water to vinegar. That being said, I usually use a much more diluted solution usually around a 12:1 ratio of water to vinegar, and I have found this to be sufficient for my use.
Step 2 – Wash Away the Mold
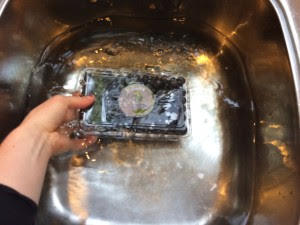
If you’ve got kids, this part is super fun for them to help with especially if they are begging at your feet to help.
Step 3 – Trim the Cleaned Fruit
Once the fruit is washed, remove stems, bruises, and anything else you wouldn’t want to eat. Also make sure to cut off any areas of the fruit that might make it ripen too fast. I cut off the stems on strawberries, pluck grapes off the vine, remove any leftover blueberry stems, and make sure all mushy fruit, or bruised pieces are set aside.
Step 4 – Allow the Fruit to Dry
Allow fruit to air dry on a tray. More delicate fruit such as raspberries, blueberries and grapes seem to do better if they are allowed to air dry before being stored. However, I’ve found that strawberries don’t seem to mind the extra moisture.
Step 5 – How to Store Your Cleaned Fruit
I love to use wide mouth mason jars to store all of my cleaned, larger fruit. The wide mouth makes it easier for you or those with little hands to reach right in a grab a snack. I use regular-sized mason jars for smaller fruit like blueberries and grapes.
In all honesty, I mostly use which ever clean mason jar is available (my favorite are Ball Mason jars).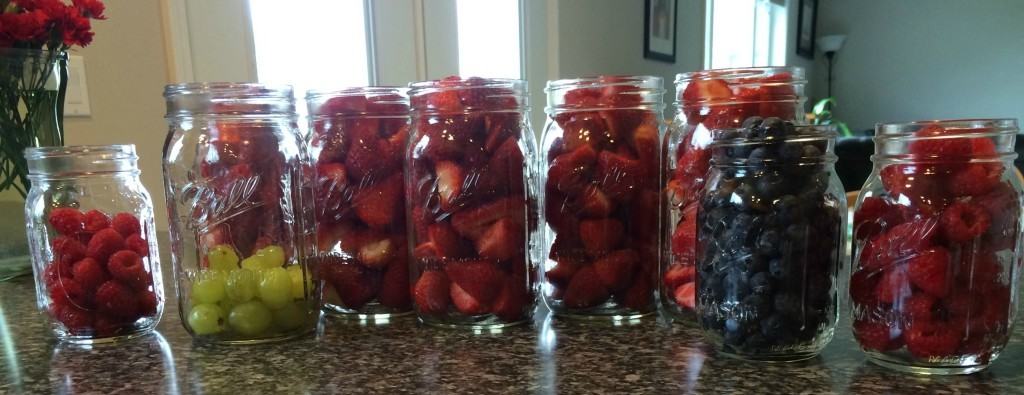

Step 6 – Keep Your Fruit Refrigerated
Screw on the lids and place the jars in the fridge. I use these lids for my regular mouth jars and these lids for my wide mouth jars. I simply hand tighten the lids since there’s no need for any special sealing or vacuum packing the jars. Pretty easy and simple, right?
Voila! You did it!
That is my simple, yet effective way to keep fruit from going bad long enough that you’ll hopefully be able to eat it all before it goes bad. I have been able to keep fruit fresh for up to 3 weeks which is such an improvement from the 4-5 day window I previously had. I love this method and have had great success now that snacks are much easier and healthier too!


Witnessing her own positive transformations by making simple changes in the home, she’s now on a mission to share her experience with other women in need of some inspiration. Ashley’s motto is “Life is too short to not be enjoyed. But when one is happy and healthy, life is even better!”
Visit her here at The Ashley Way as well as her Facebook page.